Trending


The box looks manageable. It is not heavy, the picture on the front shows a tidy chest of drawers, and there is a cheerful estimate in the corner suggesting twenty minutes. An hour later you are sitting on the floor surrounded by cam bolts, holding a panel that is definitely the wrong way round, and wondering whether the leftover screw matters.
It does not have to go that way. Flat-pack furniture is a puzzle with a fixed answer, and the answer is in the bag. Here is a method that turns a frustrating afternoon into a straightforward build.
Clear a floor space slightly larger than the finished piece and lay flattened cardboard or an old rug underneath. Laminate scratches, carpet swallows small screws permanently, and you will be kneeling on this spot for a while.
Give yourself double the time you think it will take. A bedside table is half an hour; a wardrobe is an afternoon. If you only have an hour free, build the small thing and save the big one for Saturday morning.
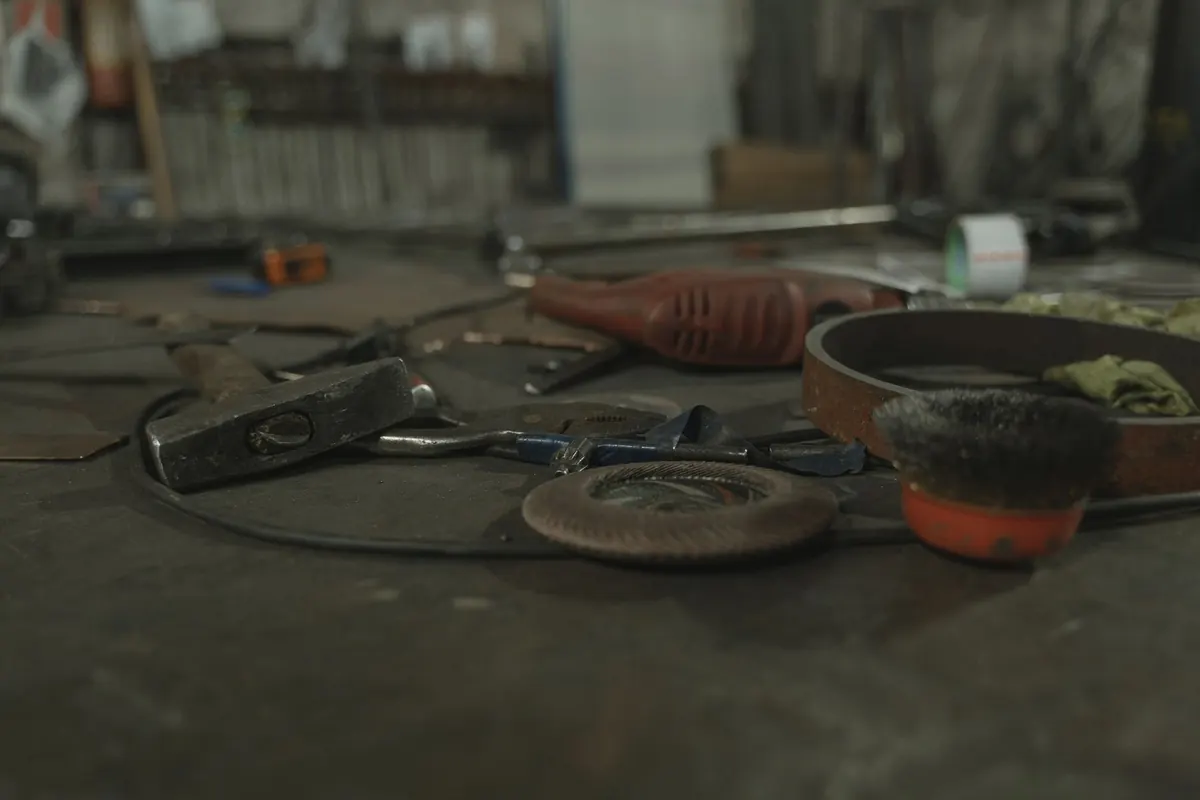
Set your tools out first so you are not hunting mid-build:
Add a second person for anything taller than your waist. Not for company, but for holding panels square while you drive screws.
Take everything out: every panel, every bag. Compare it against the parts list on the first page. Manufacturers leave a panel short more often than you would expect, and it is far easier to spot before assembly than after. If something is missing or damaged, stop and contact the retailer with your order number and a photo. Do not build around a broken panel and hope for the best.
Hardware first. Keep each bag's contents in its own compartment and keep the bag labels, because they tell you which screw is which. A pile of mixed 15 mm and 25 mm screws is how drawers end up misaligned.
Next, lay out the panels. Most flat-pack has a letter or number stamped on a raw edge or hidden face. Match each panel to the drawing and stack them in the order you will need them. If there are no markings, study the grain and the pre-drilled holes; those show you which face points outward and which way up a panel sits. Photograph the layout if that helps you keep track.
Read the whole booklet before you pick up a screwdriver. Then read the step you are on again while you do it. The diagrams are not decoration. In most sets the part being fixed is shaded and the part it attaches to is outlined, so find the holes in the drawing and then find them on the real panel. Once you can point at both, you are ready to work.
If a step looks physically impossible, you are almost certainly holding the panel the wrong way round. Turn it over rather than forcing it.
Work on the flattened cardboard with the piece upside down or on its back, whichever the instructions show. Then follow this sequence:
On chipboard and MDF, stop tightening when the screw feels firm. One extra turn crushes the core and that fixing will never hold again. Hand-tighten small screws and keep a drill's clutch set low if you use one.
Fit the runners at the same height on both sides, using the pre-drilled holes, and slide each drawer in before loading it. If a drawer sticks, loosen the runner screws, let it settle, then tighten again.
Build it lying down, then tip it upright with two people. Hang the doors after the carcass is square and use the adjustment screws on the hinges, rather than bending anything, to line them up. Never lift a wardrobe by its hanging rail.
Leave the slats until the frame is square and tight, then fit the centre support. Tighten everything once more after the first night's sleep, because frames settle.
Check the shelf pins sit at the same height on both sides. Then secure the unit to the wall using the anti-tip strap provided. That applies to anything taller than waist height and anything a child might climb. If you are unsure how to fix into your wall type, get advice, because a strap into hollow plasterboard alone will not hold.
Some jobs are better done by someone with the right tools and a van. If you have bought a fitted wardrobe, a large bunk bed, or three rooms' worth of furniture in one delivery, booking an assembly service often costs less than a lost weekend and a replacement panel. It is also the sensible call when instructions are missing, a panel arrived damaged, or the piece needs fixing to a wall you are not confident about.
Otherwise, take your time, keep the screws sorted, and read the step before you drill. The finished drawers will sit straight, the doors will close cleanly, and nobody will have to hear about the wobbly wardrobe.
Photo: leelavernissa0 / Pixabay